In this guide, I will deploy a Healthchecks instance on a VPS. Here’s the plan:
- Use the official Docker image and run it using Docker Compose.
- Store data in a managed PostgreSQL database.
- Use LetsEncrypt certificates initially, and load-balancer-managed certificates later for a HA setup.
- Use an external SMTP relay for sending email.
Prerequisites:
- A domain name (and access to its DNS settings).
- A payment card (for setting up a hosting account)
- Working SMTP credentials for sending emails.
Hosting Setup
For this exercise, I’m using UpCloud as the hosting provider. I’m choosing UpCloud because they are a European cloud hosting provider that I have not used before, and they offer managed databases.
I registered for an account, deposited €10, and launched the cheapest server they offer (1 core, 1GB RAM, €7/mo) with Ubuntu 22.04 as the OS. On the new server, I:
- Installed OS updates (
apt update && apt upgrade). - Disabled SSH password authentication
- Installed Docker by following the official instructions.
- Created a non-root user, set up SSH authentication for it, and added it to the “docker” group.
Basic docker-compose.yml
On the server, logged in as the non-root user, I created a docker-compose.yml file with the following contents:
version: "3"

services:
  web:
    image: healthchecks/healthchecks:v2.8.1
    restart: unless-stopped
    environment:
      - DB_NAME=/tmp/hc.sqlite
I then ran docker compose up. The Healthchecks container started up, but I could not access it from the browser yet: it does not expose any ports, it has no domain name, and there is no TLS terminating proxy yet.
Add DNS records, Add caddy, Add ALLOWED_HOSTS, SITE_ROOT
I own a domain name “monkeyseemonkeydo.lv”, and for this Healthchecks instance I used the subdomain “hc.monkeyseemonkeydo.lv”. I created two new DNS records:
hc.monkeyseemonkeydo.lv A 94.237.80.66
hc.monkeyseemonkeydo.lv AAAA 2a04:3542:1000:910:80a5:5cff:fe7f:0a17
(These are of course the IPv4 and IPv6 addresses of the UpCloud server).
In docker-compose.yml I added a new “caddy” service to act as a TLS terminating reverse proxy, and I added ALLOWED_HOSTS and SITE_ROOT environment variables in the “web” service:
version: "3"

services:
  caddy:
    image: caddy:2.6.4
    restart: unless-stopped
    command: caddy reverse-proxy --from https://hc.monkeyseemonkeydo.lv:443 --to http://web:8000
    ports:
      - 80:80
      - 443:443
    volumes:
      - caddy:/data
    depends_on:
      - web

  web:
    image: healthchecks/healthchecks:v2.8.1
    restart: unless-stopped
    environment:
      - ALLOWED_HOSTS=hc.monkeyseemonkeydo.lv
      - DB_NAME=/tmp/hc.sqlite
      - SITE_ROOT=https://hc.monkeyseemonkeydo.lv
volumes:
  caddy:
Note: Caddy needs a persistent “/data” volume for storing TLS certificates, private keys, OCSP staples, and other information.
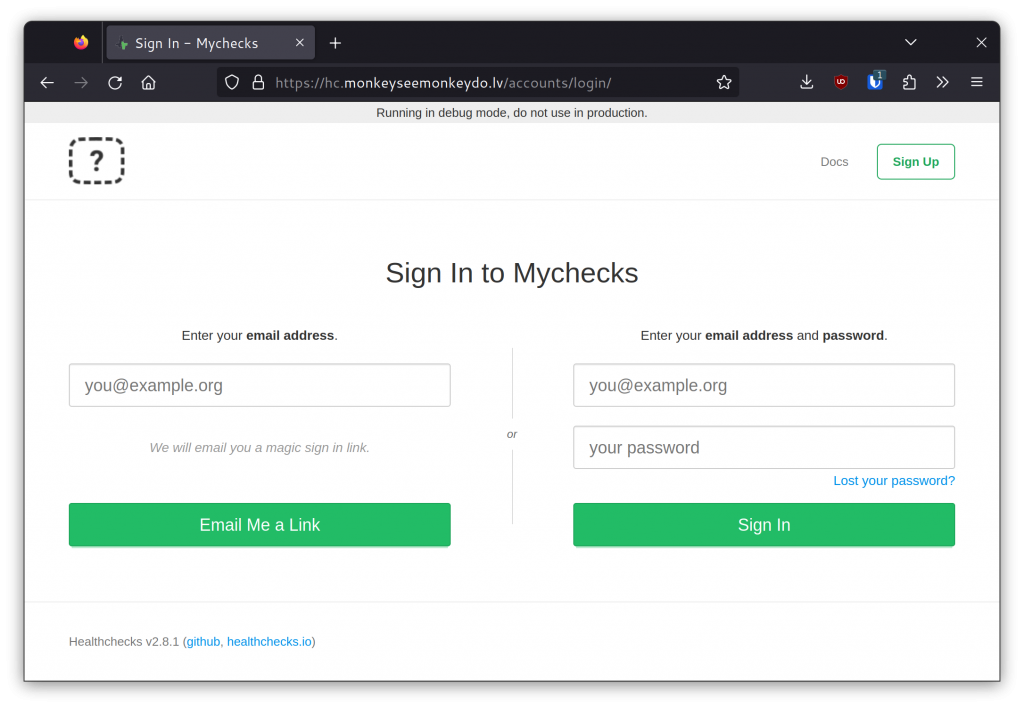
After running docker compose up again, the site loads in the browser:
Add DEBUG=False and SECRET_KEY
Next, I added DEBUG and SECRET_KEY environment variables. DEBUG=False turns off the debug mode, which should always be off on public-facing sites. SECRET_KEY is used for cryptographic signing and should be set to a unique, secret value. Do not copy the value I used!
environment:
  [...]
  - DEBUG=False
  - SECRET_KEY=b553f395-2aa1-421a-bcf5-d1c1456776d7
  [...]
Launch PostgreSQL Database, Add Database Credentials
I created a managed PostgreSQL database in the UpCloud account. I selected PostgreSQL 15.1, and the lowest available spec (1 node, 1 core, 2GB RAM, €30/mo). I made sure to select the same datacenter that the web server is in.
After the database server started up, I took note of the connection parameters: host, port, username, password, and database name. Since I was planning to use this database server for the Healthchecks instance and nothing else, I used the default database user (“upadmin”) and the default database (“defaultdb”). Here is the database configuration:
environment:
  [...]
  - DB=postgres
  - DB_HOST=postgres-************.db.upclouddatabases.com
  - DB_PORT=11550
  - DB_NAME=defaultdb
  - DB_USER=upadmin
  - DB_PASSWORD=AVNS_*******************
  [...]
After another docker compose up, I created a superuser account:
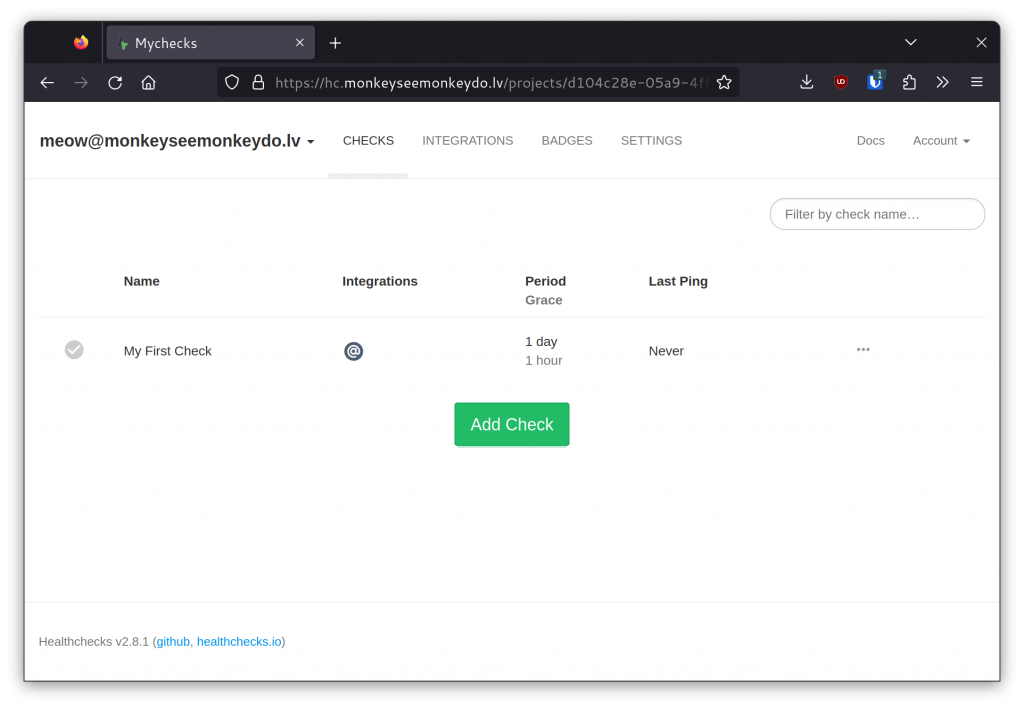
docker compose run web /opt/healthchecks/manage.py createsuperuserI tested the setup by signing in as the superuser:
Configure Outgoing Email
The Healthchecks instance needs valid SMTP credentials for sending email.
For a production site, I would sign up for an SMTP relay service. Since I’m setting this instance up only for demonstration purposes, and the volume of sent emails will be very low, I used my personal mail (hosted by Fastmail) SMTP credentials.
Here are the new environment variables:
environment:
  [...]
  - ADMINS=meow@monkeyseemonkeydo.lv
  - DEFAULT_FROM_EMAIL=meow@monkeyseemonkeydo.lv
  - EMAIL_HOST=smtp.fastmail.com
  - EMAIL_HOST_USER=meow@monkeyseemonkeydo.lv
  - EMAIL_HOST_PASSWORD=****************
  [...]
The ADMINS setting sets the email addresses that will receive error notifications. The DEFAULT_EMAIL_FROM sets the “From:” address for emails from this Healthchecks instance.
Disable New User Signups
The new Healthchecks instance currently allows any visitor to sign up for an account. This will be a private instance, so I disabled new user registration via the REGISTRATION_OPEN environment variable:
environment:
  [...]
  - REGISTRATION_OPEN=False
  [...]
Add Pinging by Email
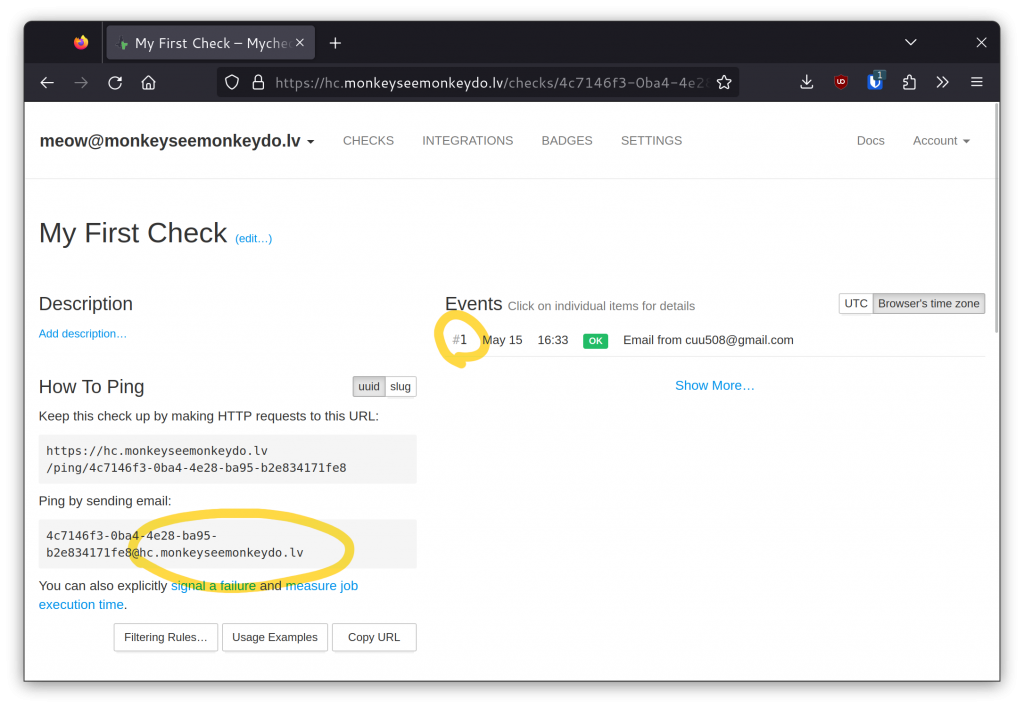
Healthchecks supports pinging (sending heartbeat messages from clients) via HTTP and also via email. To enable pinging via email, I set the PING_EMAIL_DOMAIN and SMTPD_PORT environment variables, and exposed port 25:
environment:
  [...]
  - PING_EMAIL_DOMAIN=hc.monkeyseemonkeydo.lv
  - SMTPD_PORT=25
  [...]
ports:
  - 25:25
After another docker compose up, I sent a test email and verified its arrival:
Add Logo and Site Name
The default logo image is located at /opt/healthchecks/static-collected/img/logo.png inside the “web” container. To use a custom logo, one can either set the SITE_LOGO_URL environment variable or mount a custom logo over the default one. I used the latter method.
I used an image from the Noto Emoji font as the logo, placed it next to docker-compose.yml on the server, and picked a site name:
environment:
  [...]
  - SITE_NAME=MeowOps
  [...]
volumes:
  - $PWD/logo.png:/opt/healthchecks/static-collected/img/logo.png
The result:
The Complete docker-compose.yml
Putting it all together, here is the complete docker-compose.yml:
version: "3"

services:
  caddy:
    image: caddy:2.6.4
    restart: unless-stopped
    command: caddy reverse-proxy --from https://hc.monkeyseemonkeydo.lv:443 --to http://web:8000
    ports:
      - 80:80
      - 443:443
    volumes:
      - caddy:/data
    depends_on:
      - web

  web:
    image: healthchecks/healthchecks:v2.8.1
    restart: unless-stopped
    environment:
      - ADMINS=meow@monkeyseemonkeydo.lv
      - DEBUG=False
      - ALLOWED_HOSTS=hc.monkeyseemonkeydo.lv
      - DB=postgres
      - DB_HOST=postgres-************.db.upclouddatabases.com
      - DB_PORT=11550
      - DB_NAME=defaultdb
      - DB_USER=upadmin
      - DB_PASSWORD=AVNS_*******************
      - DEFAULT_FROM_EMAIL=meow@monkeyseemonkeydo.lv
      - EMAIL_HOST=smtp.fastmail.com
      - EMAIL_HOST_USER=meow@monkeyseemonkeydo.lv
      - EMAIL_HOST_PASSWORD=****************
      - PING_EMAIL_DOMAIN=hc.monkeyseemonkeydo.lv
      - REGISTRATION_OPEN=False
      - SECRET_KEY=b553f395-2aa1-421a-bcf5-d1c1456776d7
      - SITE_NAME=MeowOps
      - SITE_ROOT=https://hc.monkeyseemonkeydo.lv
      - SMTPD_PORT=25
    ports:
      - 25:25
    volumes:
      - $PWD/logo.png:/opt/healthchecks/static-collected/img/logo.png

volumes:
  caddy:
HA
With the current setup, the web server and the database are both single points of failure. For a production setup, it would be desirable to have as few single points of failure as possible.
The database part is easy, as UpCloud-managed databases support HA configurations. I changed the database plan from 1 node to 2 HA nodes (2 cores, 4GB RAM, €100/mo) and that was that. I did not even need to restart the web container.
The web server part is more complicated: launch a second web server, put a managed load balancer in front of both web servers, and move TLS termination to the load balancer. I updated docker-compose.yml yet again:
version: "3"

services:
  web:
    image: healthchecks/healthchecks:v2.8.1
    restart: unless-stopped
    environment:
      - ADMINS=meow@monkeyseemonkeydo.lv
      - DEBUG=False
      - DB=postgres
      - DB_HOST=postgres-************.db.upclouddatabases.com
      - DB_PORT=11550
      - DB_NAME=defaultdb
      - DB_USER=upadmin
      - DB_PASSWORD=AVNS_*******************
      - DEFAULT_FROM_EMAIL=meow@monkeyseemonkeydo.lv
      - EMAIL_HOST=smtp.fastmail.com
      - EMAIL_HOST_USER=meow@monkeyseemonkeydo.lv
      - EMAIL_HOST_PASSWORD=****************
      - PING_EMAIL_DOMAIN=hc.monkeyseemonkeydo.lv
      - REGISTRATION_OPEN=False
      - SECRET_KEY=b553f395-2aa1-421a-bcf5-d1c1456776d7
      - SITE_NAME=MeowOps
      - SITE_ROOT=https://hc.monkeyseemonkeydo.lv
      - SMTPD_PORT=25
    ports:
      - 10.0.0.2:8000:8000
      - 10.0.0.2:25:25
    volumes:
- $PWD/logo.png:/opt/healthchecks/static-collected/img/logo.png- I removed the “caddy” service since the load balancer will now be terminating TLS.
- I removed the ALLOWED_HOSTS setting. This was required to get the load balancer health checks to work (UpCloud’s load balancer does not send the
Hostrequest header). - I exposed port 8000 of the “web” service on a private IP that the load balancer will connect through.
- I updated the port 25 entry to bind only to the private IP.
The following steps are UpCloud-specific, not Healthchecks-specific, so I will only summarize them:
- I launched a second web server and set it up identically to the existing one.
- I created a managed load balancer (2 HA nodes, €30/mo).
- I replaced the “A” and “AAAA” DNS records for hc.monkeyseemonkeydo.lv with a CNAME record that points to the load balancer’s hostname.
- I configured the load balancer to terminate TLS traffic on port 443, add
X-Forwarded-Forrequest headers, and proxy the HTTP requests to the web servers. - I configured the load balancer to proxy TCP connections on port 25 to port 25 on the web servers.
Costs
For the single-node setup:
- Web server: €7/mo.
- Database: €30/mo.
- Total: €37/mo.
For the HA setup:
- Web servers: 2 × €7/mo.
- Database: €100/mo.
- Load balancer: €30/mo.
- Total: €144/mo.
Monitoring, Automation, Documentation
At this point, the Healthchecks instance is up and running and the walk-through is complete. For real-world deployment, also consider the following tasks:
- Set up uptime monitoring using your preferred uptime monitoring service.
- Set up CPU / RAM / disk / network monitoring using your preferred infrastructure monitoring service.
- Set up monitoring for notification delivery.
- Move secret values out of
docker-compose.yml, and storedocker-compose.ymlunder version control. - Document the web server setup and update procedures.
- Automate the setup and update tasks if and where it makes sense.
Thanks for reading, and good luck in your self-hosting adventures,
–Pēteris