A Healthchecks user sent me a code snippet for sending HTTP pings from Arduino. This prompted me to do some Arduino experimenting on my own. I ordered Arduino Nano 33 IoT board:
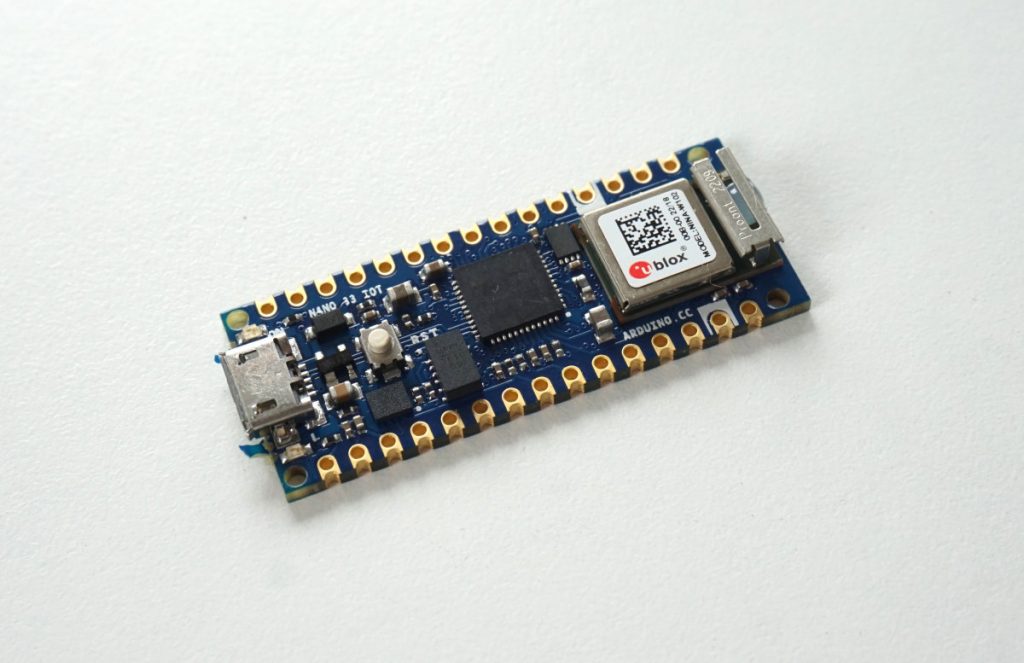
I picked this board because I wanted an easy entry into Arduino development. As a first-party Arduino hardware, it should be easy to get it working with Arduino IDE. It has an on-board WIFI chip, so I would not need to hook up additional WiFi or Ethernet hardware.
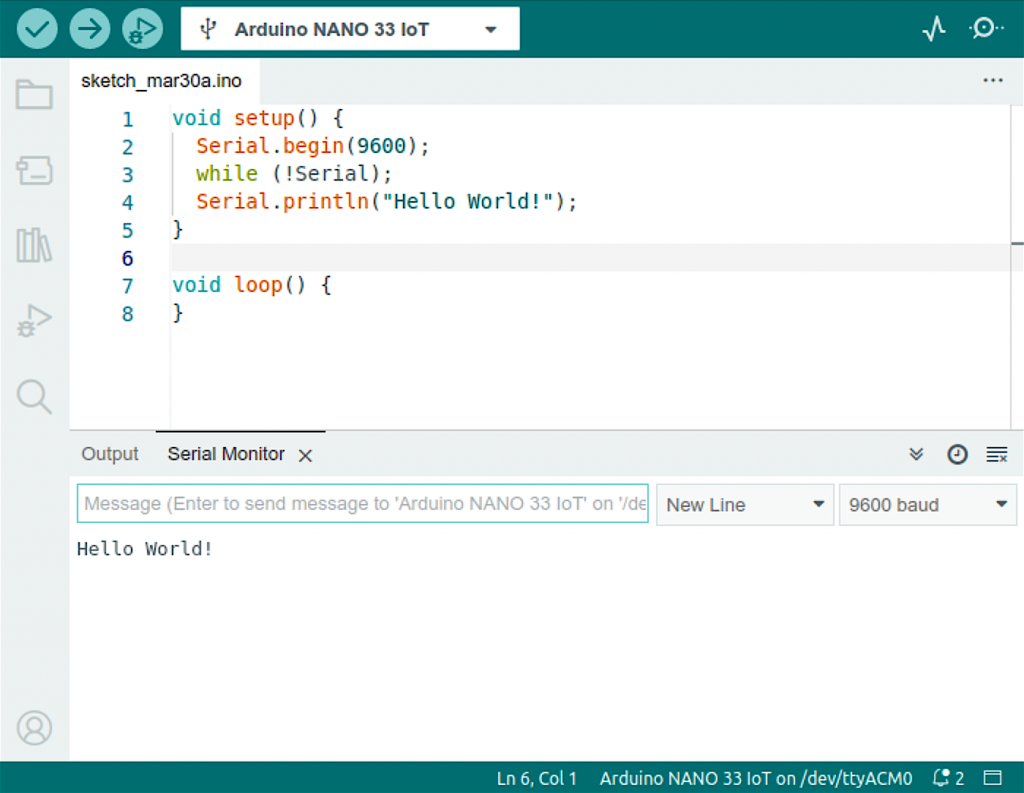
The Nano 33 IoT has a micro USB port. After connecting to my PC running Ubuntu, Arduino’s power LED lit up, and on the computer side a /dev/ttyACM0 device appeared. Arduino IDE detected the connected board, but my initial attempt to upload a sketch failed. This turned out to be a permissions issue. After I added my OS user to the dialout group, I could upload a “Hello World” sketch to the board:
Sending a Raw HTTP Request
Arduino Nano 33 IoT has an on-board WiFi module. To use it, Arduino provides the WiFiNINA library. The library comes with example code snippets. One of the examples shows how to connect to a WiFi network and make an HTTP request. I adapted it to make an HTTPS request to hc-ping.com:
#include <WiFiNINA.h>
#include "arduino_secrets.h"

char ssid[] = SECRET_SSID;
char pass[] = SECRET_PASS;
int status = WL_IDLE_STATUS;
WiFiSSLClient client;

void setup() {
  pinMode(LED_BUILTIN, OUTPUT);
  Serial.begin(9600);
  while (!Serial);

  Serial.print("Connecting ...");
  WiFi.begin(ssid, pass);
  while (WiFi.status() != WL_CONNECTED) {
    delay(500);
    Serial.print(".");
  }

  Serial.print("\nConnected, IP address: ");
  Serial.println(WiFi.localIP());
}

void ping() {
  Serial.println("Pinging hc-ping.com...");
  if (client.connect("hc-ping.com", 443)) {
    Serial.println("Connected to server.");
    client.println("GET /da840100-3f58-405e-a5ee-e7e6e4303e82 HTTP/1.0");
    client.println("Host: hc-ping.com");
    client.println("Connection: close");
    client.println();
    Serial.println("Request sent.");
  }

  while (client.connected()) {
    while (client.available()) {
      char c = client.read();
      Serial.write(c);
    }
  }
  Serial.println("\nClosing connection.");
  client.stop();
}

void loop() {
  ping();

  // Blink LED for 10 seconds:
  Serial.print("Waiting 10s: ");
  for (int i=0; i<10; i++) {
    Serial.print(".");
    digitalWrite(LED_BUILTIN, HIGH);
    delay(500);
    digitalWrite(LED_BUILTIN, LOW);
    delay(500);
  }
  Serial.println();
}
After uploading this sketch to Arduino, here’s the output on serial console:
Connecting ...
Connected, IP address: 192.168.1.77
Pinging hc-ping.com...
Connected to server.
Request sent.
HTTP/1.1 200 OK
server: nginx
date: Thu, 30 Mar 2023 12:33:25 GMT
content-type: text/plain; charset=utf-8
content-length: 2
access-control-allow-origin: *
ping-body-limit: 100000
connection: close

OK
Closing connection.
Waiting 10s: ..........
Pinging hc-ping.com...
Connected to server.
Request sent.
HTTP/1.1 200 OK
server: nginx
date: Thu, 30 Mar 2023 12:33:41 GMT
content-type: text/plain; charset=utf-8
content-length: 2
access-control-allow-origin: *
ping-body-limit: 100000
connection: close

OK
Closing connection.
Waiting 10s: .......
[...]
Quite impressively, this works over HTTPS out of the box – the WiFiNINA library and the chip takes care of performing TLS handshake and verifying the certificates. All I had to do was specify port 443, and the rest was handled automagically.
ArduinoHttpClient
After getting the minimal example working, I found the ArduinoHttpClient library. It offers a higher-level interface for making GET and POST requests, and for parsing server responses. It works with several different network libraries, including WifiNINA.
#include <ArduinoHttpClient.h>
#include <WiFiNINA.h>
#include "arduino_secrets.h"

char ssid[] = SECRET_SSID;
char pass[] = SECRET_PASS;
int status = WL_IDLE_STATUS;
WiFiSSLClient wifi;
char host[] = "hc-ping.com";
char uuid[] = UUID;
HttpClient client = HttpClient(wifi, host, 443);

void setup() {
  pinMode(LED_BUILTIN, OUTPUT);
  Serial.begin(9600);
  while (!Serial);

  Serial.print("Connecting ...");
  WiFi.begin(ssid, pass);
  while (WiFi.status() != WL_CONNECTED) {
    delay(500);
    Serial.print(".");
  }

  Serial.print("\nConnected, IP address: ");
  Serial.println(WiFi.localIP());
}

void loop() {
  client.get("/" + String(uuid));
  Serial.print("Status code: ");
  Serial.println(client.responseStatusCode());
  Serial.print("Response: ");
  Serial.println(client.responseBody());

  // Blink LED for 10 seconds:
  Serial.print("Waiting 10s: ");
  for (int i=0; i<10; i++) {
    Serial.print(".");
    digitalWrite(LED_BUILTIN, HIGH);
    delay(500);
    digitalWrite(LED_BUILTIN, LOW);
    delay(500);
  }
  Serial.println();
}
Output in the serial console:
Connecting ...
Connected, IP address: 192.168.1.77
Status code: 200
Response: OK
Waiting 10s: ..........
Status code: 200
Response: OK
Waiting 10s: ..........
[...]
ESP8266
After having good results with Arduino Nano 33 IoT, I wanted to try the same on an ESP8266 board I had lying around:

This board from AliExpress has a few goodies in addition to the ESP8266 chip: a relay, and multiple powering options: 220V AC, 7-12V DC, 5V DC. It has a USB port, but this port can be used for supplying power only, there is no USB-UART interface onboard. There are clearly labeled GND, 5V, RX, TX pins that I can hook a USB-UART converter (also from AliExpress) to:
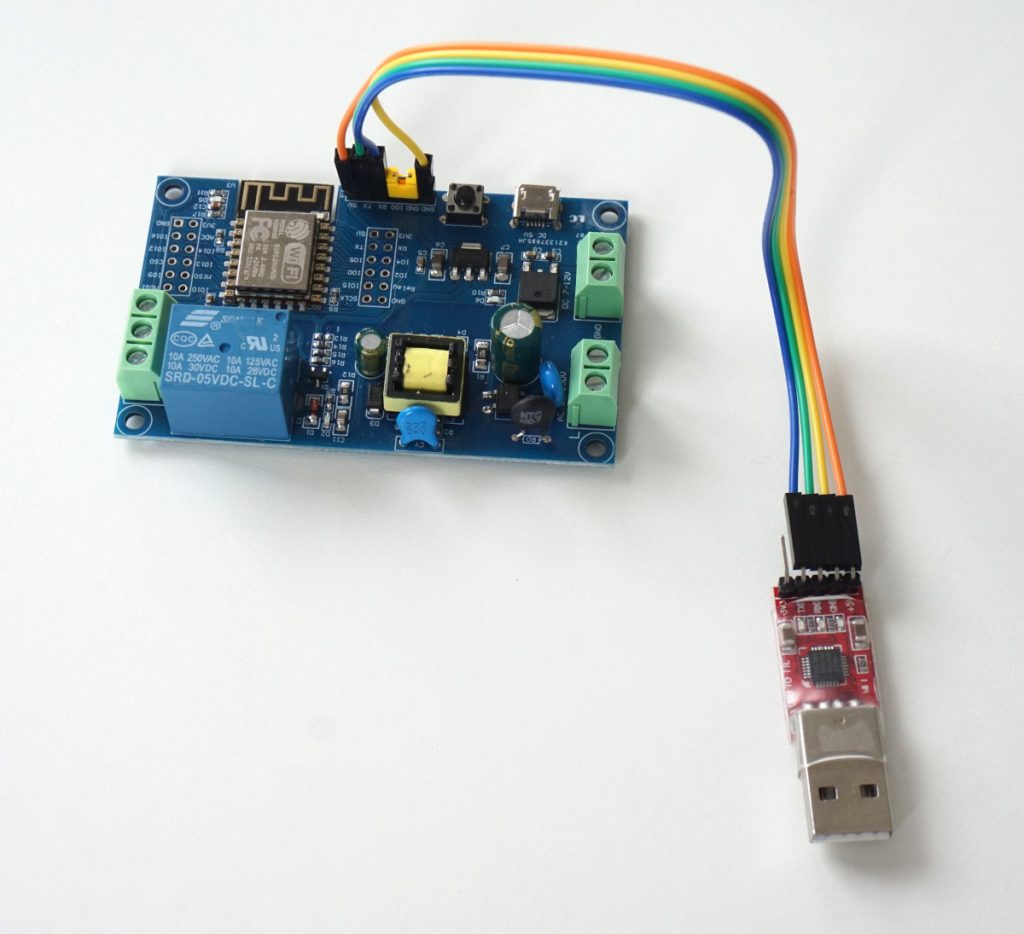
The yellow jumper connects GPIO 0 to the ground, this puts ESP8266 in programming mode. At this point I can plug the USB-UART converter in the PC and check for signs of life using esptool:
$ apt-get install esptool
$ esptool chip_id
esptool.py v2.8
Found 2 serial ports
Serial port /dev/ttyUSB0
Connecting...
Detecting chip type... ESP8266
Chip is ESP8266EX
Features: WiFi
Crystal is 26MHz
MAC: a8:48:fa:ff:15:45
Enabling default SPI flash mode...
Chip ID: 0x00ff1545
Hard resetting via RTS pin...
Arduino IDE does not support ESP8266 chips out of the box, but there is esp8266/Arduino project which adds support for different flavors of ESP boards.
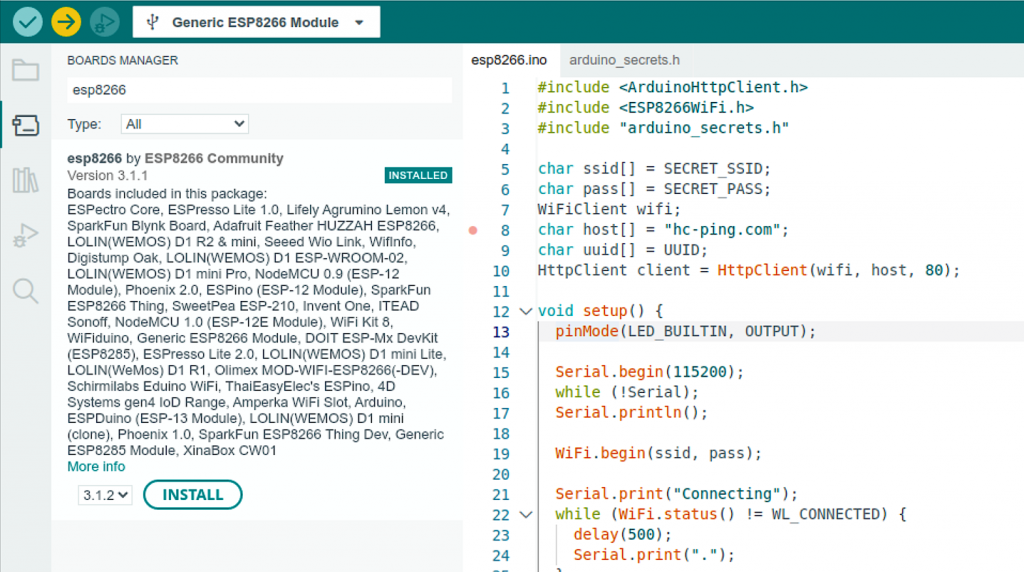
The esp8266/Arduino project also comes with a WiFi library, which provides an interface to the WiFi functionality on the chip. For simple use cases, the esp8266wifi library is a drop-in replacement for the WiFiNINA library:
#include <ArduinoHttpClient.h>
#include <ESP8266WiFi.h>
#include "arduino_secrets.h"

char ssid[] = SECRET_SSID;
char pass[] = SECRET_PASS;
WiFiClient wifi;
char host[] = "hc-ping.com";
char uuid[] = UUID;
HttpClient client = HttpClient(wifi, host, 80);

void setup() {
  pinMode(LED_BUILTIN, OUTPUT);

  Serial.begin(115200);
  while (!Serial);
  Serial.println();

  WiFi.begin(ssid, pass);

  Serial.print("Connecting ...");
  while (WiFi.status() != WL_CONNECTED) {
    delay(500);
    Serial.print(".");
  }

  Serial.print("\nConnected, IP address: ");
  Serial.println(WiFi.localIP());
}

void loop() {
  client.get("/" + String(uuid));
  Serial.print("Status code: ");
  Serial.println(client.responseStatusCode());
  Serial.print("Response: ");
  Serial.println(client.responseBody());

  // Blink LED for 10 seconds:
  Serial.print("Waiting 10s: ");
  for (int i=0; i<10; i++) {
    Serial.print(".");
    digitalWrite(LED_BUILTIN, HIGH);
    delay(500);
    digitalWrite(LED_BUILTIN, LOW);
    delay(500);
  }
  Serial.println();
}
Although the esp8266wifi library does support TLS, the documentation also mentions significant CPU and memory requirements. To keep things simple and quick, I went with port 80 and unencrypted HTTP for this experiment.
I uploaded the sketch, removed the yellow jumper, reset the board, and got this output on the serial console:
Connecting ..........
Connected, IP address: 192.168.1.78
Status code: 200
Response: OK
Waiting 10s: ..........
Status code: 200
Response: OK
Waiting 10s: ..........
[...]
Success!
In summary, my first steps in Arduino development left me with positive impressions. The network libraries provide an easy to use, high-level interface for working with network hardware. They have uniform interfaces, so can be used in sketches interchangeably, with minimal code changes. After the initial hump of getting a board recognized by Arduino IDE, and getting the first sketch to upload and run, the development went smoothly. To be fair, the “development” in my case was mostly copying and tweaking code samples. But it was still good!
Happy tinkering,
–Pēteris